Simple Way to Change Your Location on iPhone – 3uTools Guide
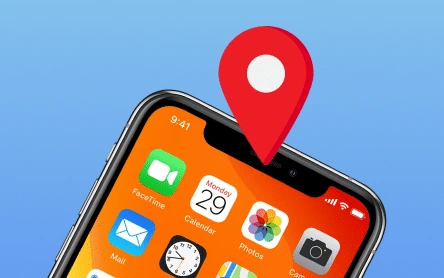
Why Would You Want to Change Your iPhone Location?
Before we dive into the steps for changing your location on an iPhone, let’s explore some reasons why you might want to do this:
- To play location-based games like Pokémon GO or Monster Hunter Now, which depend on your real-world location.
- To widen your dating prospects by bypassing the location limits of certain apps.
- To protect your privacy by masking your location while browsing the web or using apps.
- To access content on streaming services that is only available in certain regions.
- To reduce battery drain and data usage that can happen with GPS-based activities.
- To keep your true location hidden from hackers or anyone trying to track you.
Method 1: Use 3uTools
3uTools is a software that allows you to easily change the virtual location of your iPhone or iPad. This can be helpful for testing location-based apps, bypassing geolocation restrictions, or other purposes.
Here’s how to use 3uTools to change your iPhone location:
- Download and install the latest version of 3uTools on your computer.
- Connect your iPhone to the computer with the original USB cable.
- Open 3uTools and select “Toolbox.”
- Click on “Virtual Location.”
- Enter the longitude and latitude of the desired location, type the address into the search bar, or drag and drop the pin on the map to your chosen spot.
- Click “Modify Virtual Location” once everything is set.
- A prompt will appear to confirm whether the change was successful.
- Check your social media or other apps to see your new virtual location.
Now you’ve successfully changed your iPhone’s location!
Get the latest version: Download 3uTools
Method 2: Change the Apple ID Region on Your iPhone
Switching the region of your Apple ID is a straightforward process and can be useful if you’re traveling, relocating to another country, or want access to content in the App Store or iTunes that’s only available in specific regions.
Here’s how to change your Apple ID region on your iPhone:
- Open the Settings app.
- Tap on your name, then select Media & Purchases.
- Tap View Account. You may need to sign in.
- Select Country/Region.
- Tap Change Country or Region.
- Choose your new country or region, and review the Terms & Conditions.
- Tap Agree in the upper-right corner, then tap Agree again to confirm.
- Choose a payment method, enter the new payment details and billing address, then tap Next. You’ll need to provide a valid payment method for the selected country or region.